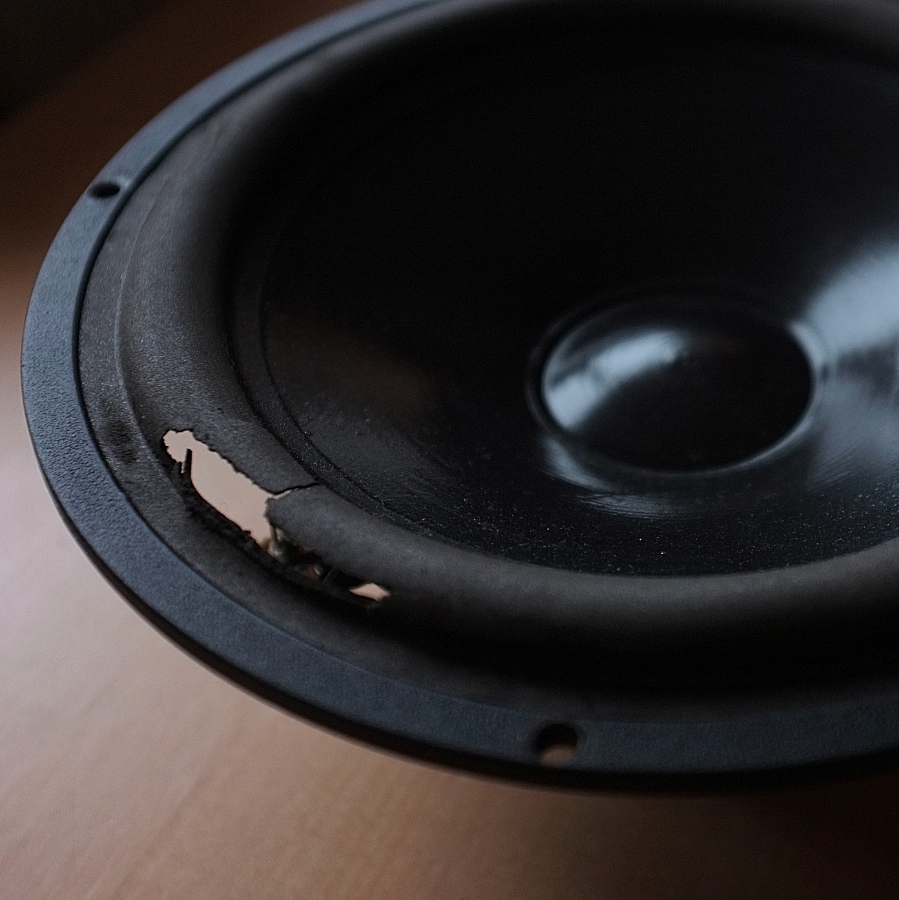
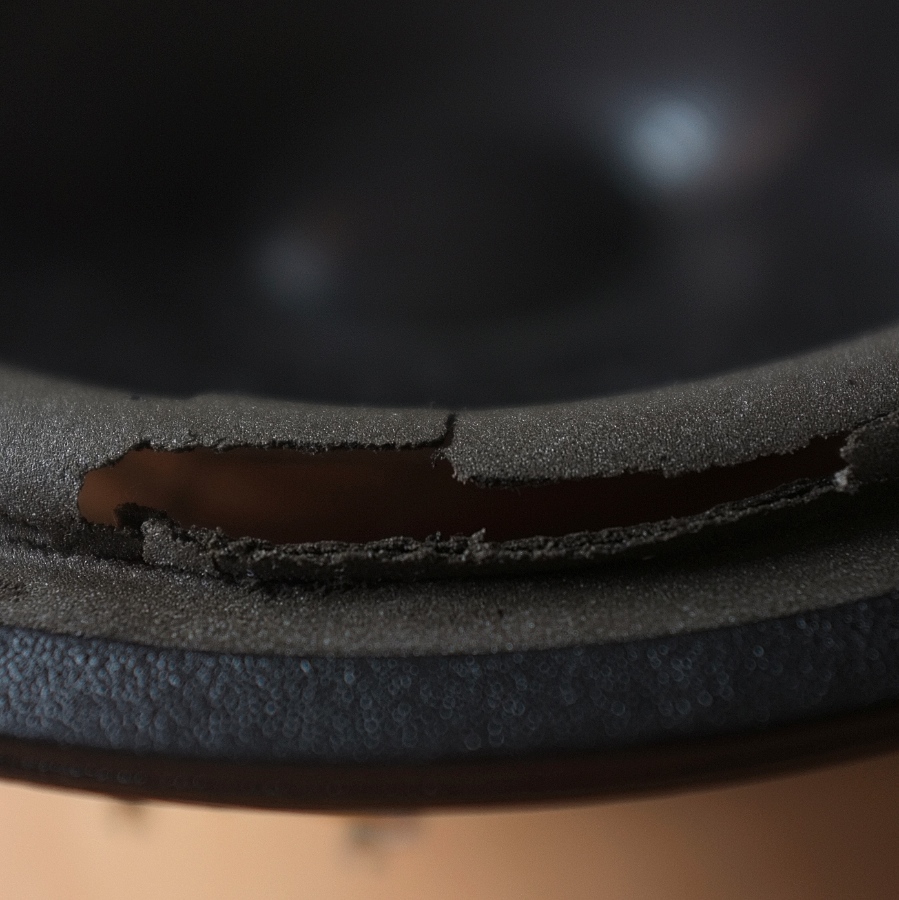
OK, here's a short set of pics driven by necessity, posted by complete amateurs to assure the rest of you it's an easy task if you need to try this! My pal StevieD found the surrounds on the bass drivers of his pair of Impulse H2s had abruptly expired; the Oh Bugger moment looks like this:
No, this really is Not good:
I obtained replacement surrounds from GoodHIfFi.nl . This site has a downloadable guide and a very helpful short video 'how to', so here are a few pics of the amateur's night recreation. The drop-in replacement part for the Impulse H2 / Ta'us bass unit is the foam surround for the SEAS 21-WBX; cheap at 7euros each (March 2013) - (Foam ring 8 inch for SEAS 21F-WBX woofer, article code: F8magCsea5) GoodHIfFi.nl
- Excellent service by these people, by the way - order email placed on the Friday afternoon, and the parts landed on my desk at work in the UK on the Monday from the Netherlands.
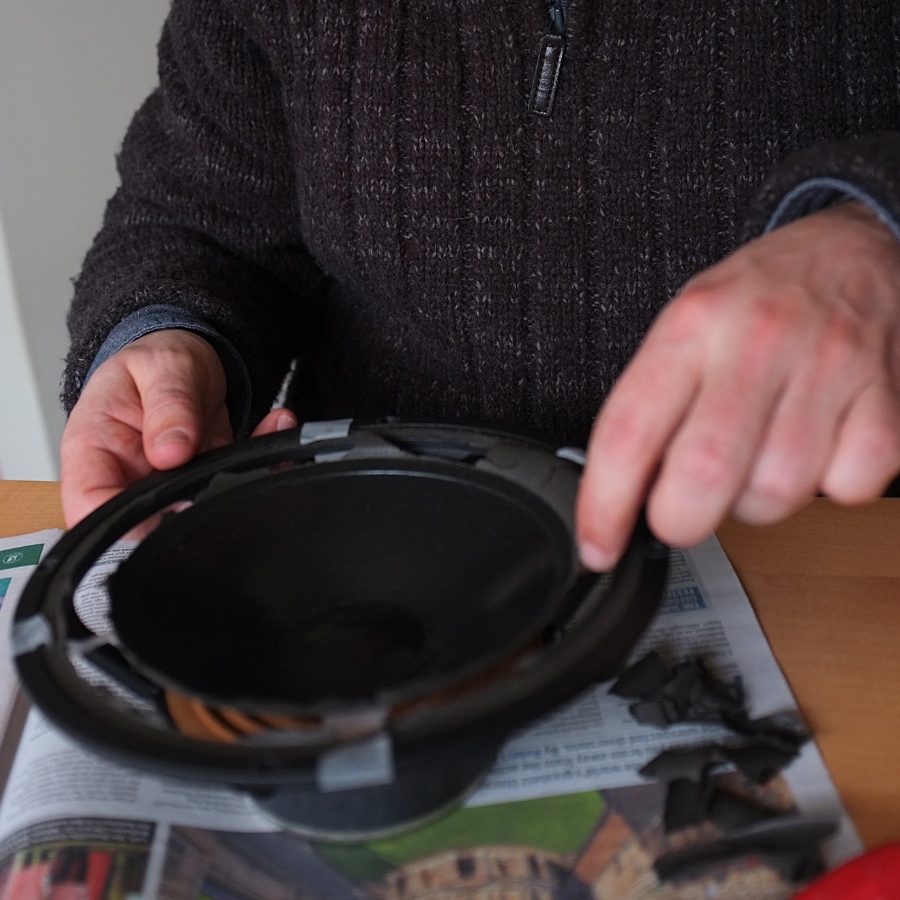
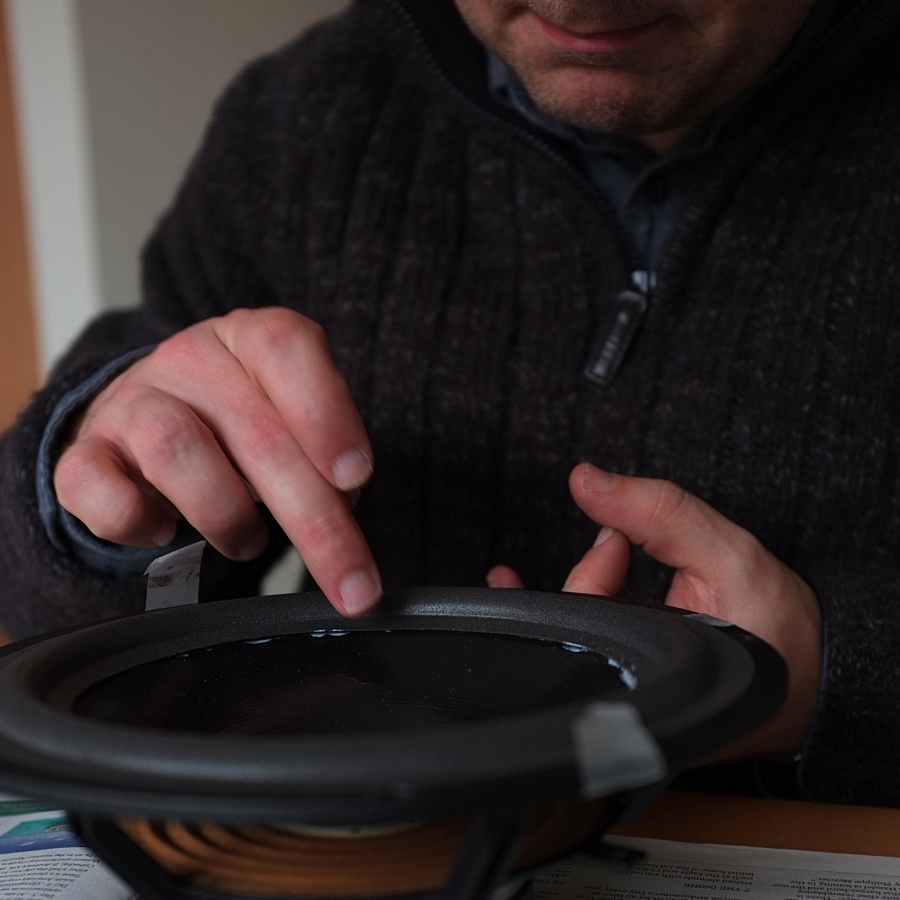
Anyway you remove the bass driver by unscrewing bolts and desoldering the pair of wires on the back - pay attention to their polarity. Once free - first, carefully turn the driver over and use several pieces of low-tack tape from back of cone to frame to hold the outer edge centred as it is. Removing the surround the cone risks losing alignment in the voice coil gap; the use of 3M magic tape is my own dirty-low-cunning cheat alternative to removing the centre dust cap and shimming the voice-coil. With care it work just as well, and leaves the dust cap intact.
Then you can set to the scary task of removing the old surround. Take your time to peel away the remains of the old surround. It's a very soft, sticky, gungy mess and cleaning-up may take longer than you expect.
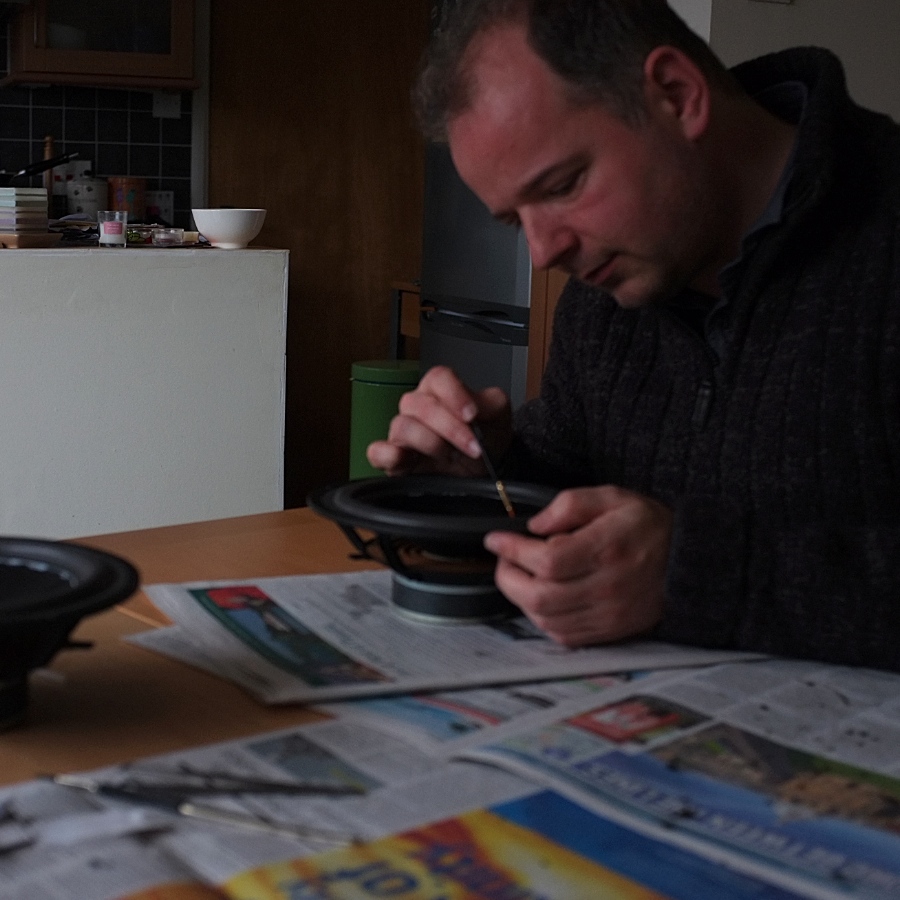
5. Apply your glue carefully, concentrically, to the cleaned cone edge after trialling your new surrond in place. We used Impex Hi-Tack, a PVA glue with high initial 'stickiness' and guranteed to dry clear, flexible, and adhere to foam and to metal. You can find speaker-specific equivalents elsewhere at a significant premium. Don't use a contact adhesive - you need a slow drying period to allow gentle manipulation of the sorround for seating on the cone, andfor concentricicty of the cone relative to the frame.
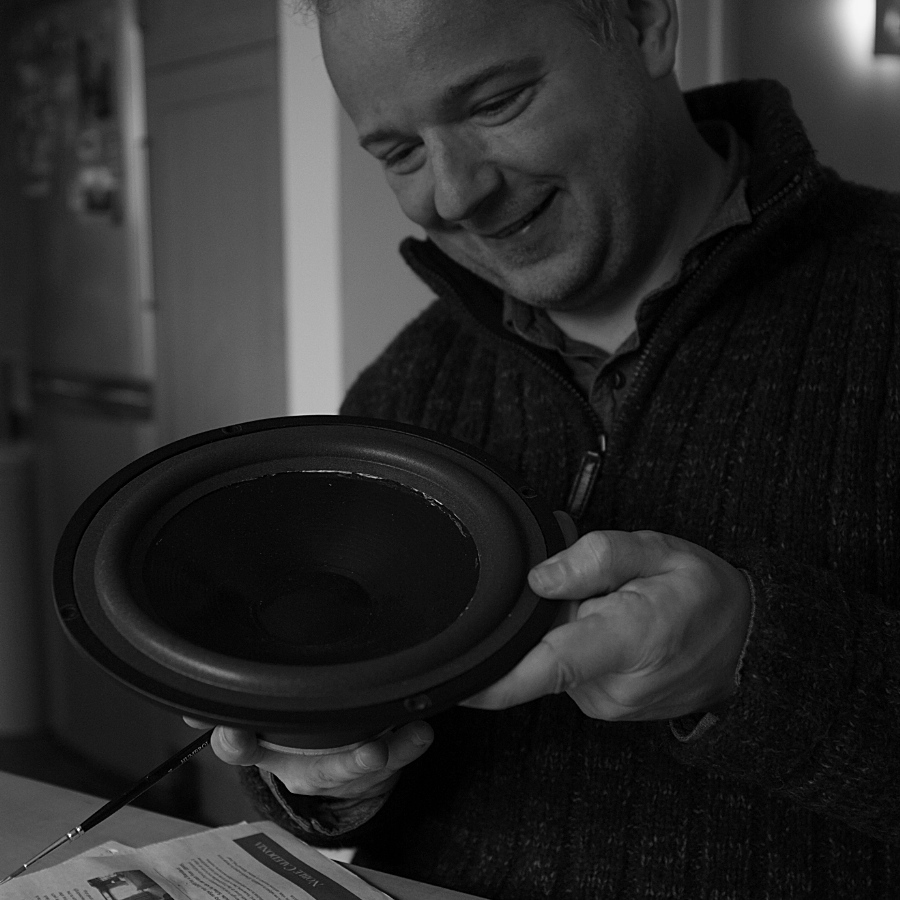
Mr Dempster pays close attention to this first-glue stage with a fine brush.
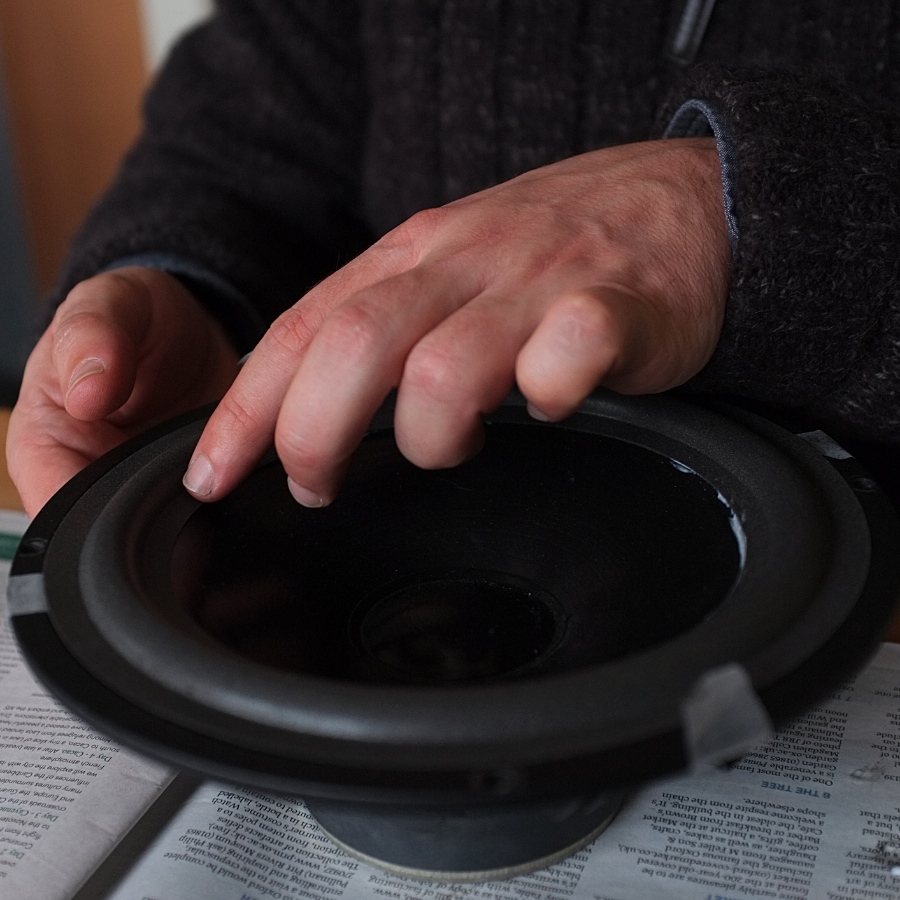
6. Once the surround has initially 'taken' to the cone and the glue has grabbed. gently depress and play with the fit to the cone to ensure that the voice-coil does not rub in the gap when the cone moves vertically. You want to set everything so that the surround sits naturally within the area defined by the frame at the outer edge. It's easy, just takes patience and a gentle touch
7. Leave well alone until the surround to cone bond has definitely set - say an hour or more - and then run a bead of glue around the frame to bond to the surround. Nearly there now. Manipulate gently to fully seat the bead and ensure there is no rubbing - that the VC remains centred.
8. Mr. Dempster bakes exceedingly good drivers!
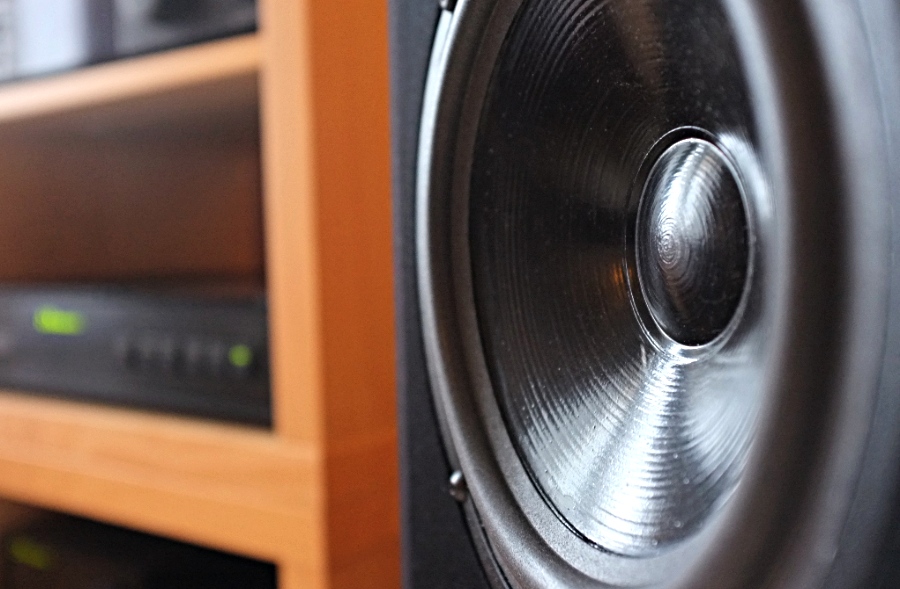
9. Allow the surround bond to dry thoroughly, and re-fit the drivers. We played a low tone I'd written to file, a full-scale 7Hz sine 'wobble', as a final check for excursion and audible scraping noises. Result - none. Job done!
MIDRANGE UNIT
For replacement the Seas MCA11F is the one to use (H0143), but it's now out of production too although it can still be found as NOS from some suppliers. There's a Monacor unit that's a close match on paper but it looks pretty cheap (thin stamped steel basket) and I've no idea what it sounds/measures like.
On the other hand GoodHIfFi.nl does stock surrounds for the Seas 11F-M unit so repair appears quite viable.
www.acoustica.org.uk (opens new window)